How to Polish Aluminum Wheels (Bare, Clear-Coated and Anodized)

Short answer: before you touch an aluminum wheel with polish or sandpaper, work out which of the three types you have. Bare polished aluminum responds to polish and comes up like a mirror. Clear-coated aluminum, which covers most factory wheels made after about 1990, has a lacquer layer over the metal, and polishing that only cleans the coating. Anodized aluminum has a hardened surface that polish cannot restore at all. Getting this wrong is how people permanently ruin a set of wheels in an afternoon.
Nearly every guide on this subject opens with sandpaper grits and buffing wheels. That advice is fine for bare aluminum and disastrous for the other two. So this guide starts with the test that tells you which one you own, then covers the right method for each.
Step one: identify what your wheels actually are
This takes two minutes and saves a great deal of regret.
The cloth test
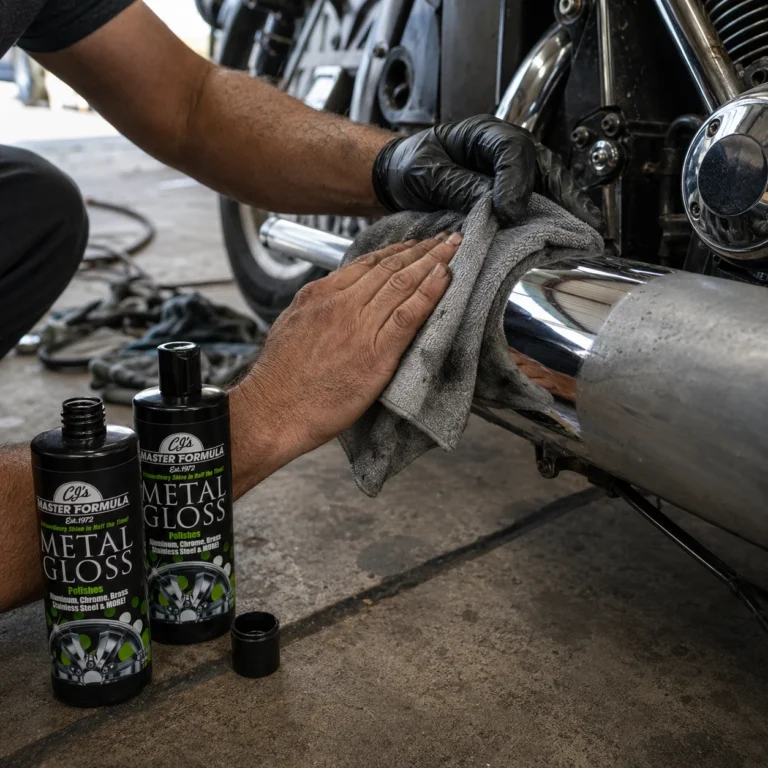
Wash and dry a small area of the wheel face. Put a small amount of Metal Gloss on a clean microfiber cloth and rub an inconspicuous spot, such as the inside of a spoke, for about thirty seconds with firm pressure.
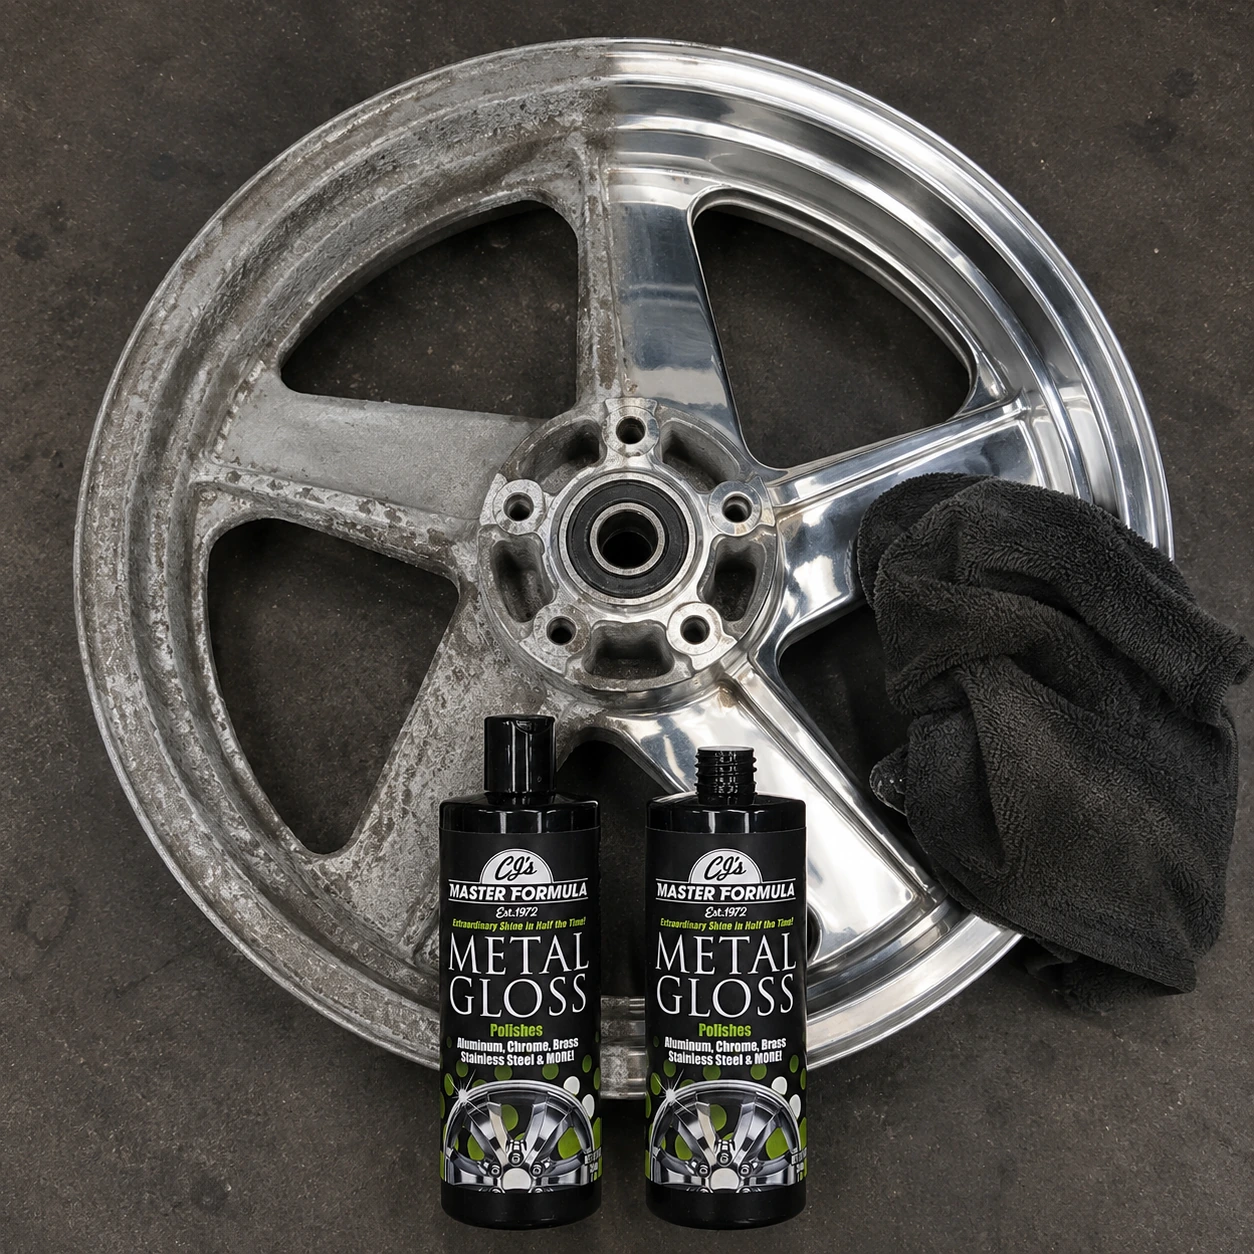
- The cloth turns black or dark grey. You have bare aluminum. That black is the oxide layer transferring off the metal. Polish will work, and work well.
- The cloth stays clean, and the area looks slightly brighter. You have a clear coat. You just cleaned the lacquer, not the metal.
- The cloth stays clean and nothing changes. Likely anodized, especially if the finish is a uniform colour with a slightly matte, satin depth to it.
Other clues
Age and origin. Aftermarket polished wheels, older truck wheels, forged wheels, motorcycle wheels and most billet wheels are often bare. Factory wheels on cars built since the early 1990s are nearly always clear-coated.
Look at the damage. Clear-coated wheels fail in a distinctive way: the lacquer lifts and peels in patches, leaving sharp-edged areas of white, chalky corrosion underneath. Bare aluminum dulls evenly all over, going grey and cloudy rather than patchy.
Feel the edge of a blemish. If you can catch a fingernail on the boundary of a dull patch, that is a clear coat edge lifting. Even dulling with no edge is oxidation on bare metal.
If your wheels are bare aluminum
This is the straightforward case, and the results can be genuinely dramatic.
What you need
- Car soap, water, a hose
- A dedicated wheel cleaner for baked-on brake dust, such as Cleaner Gloss
- A non-abrasive metal polish
- Four or five clean microfiber towels, more than you think
- A soft detailing brush for lug recesses and tight corners
- Optional: a cordless drill with a small foam polishing ball for spoke faces
Why non-abrasive matters here
Aluminum is soft. Much softer than the chrome or stainless most people are used to working on, and it marks under pressure that steel would ignore.
Most wheel polishes cut oxidation away with abrasive grit. That works fast, and every pass removes a thin layer of metal along with the oxide, leaving a pattern of fine scratches. On a wheel face in direct sunlight, those scratches read as a hazy swirl that can look worse than the oxidation you started with.
Metal Gloss uses a jewelers’ rouge formulation instead. Jewelers’ rouge is the compound class used to finish precious metals, where removing material is not an option. It lifts the oxide layer without cutting into the aluminum beneath, which is why the same bottle is safe on a truck wheel and a piece of silver flatware.
The method
- Get the wheel off the car if you can. Not essential, but the inner barrel is where oxidation is worst and where you cannot reach with the wheel on. If you are leaving them on, turn the steering to full lock to expose as much of each front wheel as possible.
- Wash thoroughly, then wash again. Brake dust is iron particles fired into the surface at heat. Polishing over them drags hard grit across soft metal. This is the single most common cause of “the polish scratched my wheels”.
- Deal with bonded contamination separately. Run a hand over the dry wheel. If it feels gritty rather than smooth, a wash has not shifted everything. Use Cleaner Gloss first. Asking a polish to do a cleaner’s job is how afternoons get lost.
- Dry completely. Water trapped in a lug recess will run out mid-polish and streak the section you just finished.
- Work one small section at a time. Roughly the area of your palm. Firm, overlapping passes. Light passes just move product around without lifting anything.
- Watch the cloth, not the wheel. Within a few passes it will blacken. That is the oxide coming off. If the cloth stays clean, either the wheel was cleaner than it looked or you are not pressing hard enough.
- Change cloths often. A saturated towel stops removing and starts smearing. Fold to a clean face, then switch towels entirely.
- Buff with a dry towel until the surface runs clear and reflects sharply.
- Repeat on heavy areas. A neglected wheel is layered. Two or three passes is normal, not a sign of failure.
- Seal it. The moment you finish, you have exposed bare aluminum to air. Oxidation restarts immediately. Sealer Gloss puts a barrier between the metal and the weather and holds the finish for up to six months depending on conditions.
How long it takes and how much it uses
A genuinely neglected set of four wheels is an afternoon’s work and will use a good portion of a 12 oz bottle. That is normal for a first restoration. Maintenance passes afterwards take a fraction of the time and product, because you are removing a thin film rather than years of buildup.
If your wheels are clear-coated
This is where most people go wrong, and where most guides give advice that will cost you a set of wheels.
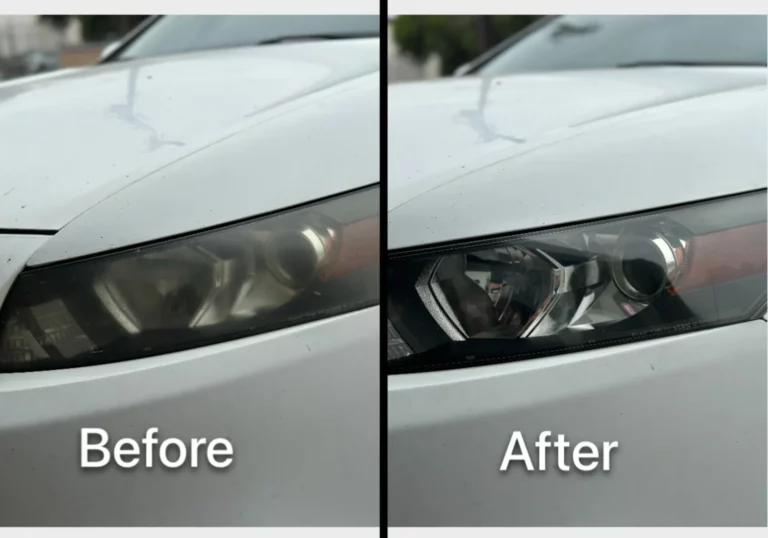
A clear-coated wheel is aluminum with a lacquer layer sprayed over it. The shine you see is the coating, not the metal. Polish will clean that coating, remove light staining and brighten it, but it will not produce a mirror finish, because you are not touching metal.
What not to do
Do not sand it. Guides that tell you to start at 80 or 200 grit are describing a bare aluminum restoration. Take sandpaper to a clear-coated wheel and you remove the coating in that spot, exposing raw aluminum that will then corrode faster than the rest of the wheel and never match.
Do not use steel wool. It appears in a surprising number of wheel guides. It scratches both lacquer and aluminum, and it leaves steel particles embedded in the surface that rust in place, creating orange speckling that looks like the wheel itself is failing.
Do not use acidic wheel cleaners. Strong acid cleaners strip and cloud clear coat. If a cleaner warns against use on polished or coated wheels, believe it.
What to do instead
Wash, decontaminate, then polish gently to clean and brighten the coating. Follow with a sealant to protect the lacquer, which is the thing actually keeping water off your metal.
If the clear coat has already failed and is peeling, polish cannot fix that. The honest options are living with it, or having the wheels stripped and refinished. Anyone telling you a bottle of anything will repair failed lacquer is selling something.
If your wheels are anodized
Anodizing is an electrochemical process that grows a hardened oxide layer into the surface of the aluminum, often with colour in it. It is tough, and it is not a coating sitting on top that you can polish through to something better.
Polish will clean anodized aluminum and remove surface grime. It will not restore faded or worn anodizing, and no product will. Once anodizing has broken down, the only real fix is stripping and re-anodizing, which is a specialist job.
The practical advice is to keep them clean, avoid harsh chemicals, and accept the finish for what it is.
The areas everybody misses
The inner barrel
Where brake dust actually collects and where oxidation is always worst. Almost nobody polishes it, and it is the reason wheels look tired from certain angles even after the faces are done. This is the argument for taking the wheels off.
Lug nut recesses
A folded corner of microfiber pushed into the recess works better than any pad. A soft brush helps shift the crust first.
Curb rash
Polish will brighten the surrounding metal and make light scuffing far less obvious. It will not fill a gouge, because polishing removes material rather than adding it. Deep curb damage needs filling and refinishing.
The valve stem area
Rubber and polish do not need to meet. Not harmful, but it makes a mess and you will be picking residue out of the seam afterwards.
Mistakes that cost people a weekend
- Polishing a hot wheel. Work in shade on cool metal. Polish dries too fast in direct sun and becomes difficult to buff off.
- Polishing straight after driving. Brake components stay hot long after you park.
- One towel for the whole job. The most common cause of self-inflicted scratching.
- Expecting one pass to undo ten years. Heavy oxidation is layered. Multiple passes are the method, not a workaround.
- Skipping the seal. You did the work. An unsealed wheel is dull again within weeks.
Keeping them that way
Once restored and sealed, a pass every two to three months holds the finish with very little effort. Rinse brake dust off regularly rather than letting it bake on, because dust left through a hot summer etches into aluminum and becomes a polishing job rather than a washing job.
Vehicles driven through salted winters need attention as soon as the season ends. Salt left on aluminum over months does real, visible damage.
Frequently asked questions
Can you polish aluminum wheels by hand?
Yes. On bare aluminum a microfiber cloth, a non-abrasive polish and firm pressure will restore a wheel by hand. A drill with a small foam ball speeds up flat spoke faces, but hand work gives better control around edges, lug recesses and the barrel, and no machine is required for a good result.
How do I know if my wheels are clear-coated?
Polish a hidden spot with a clean cloth for thirty seconds. If the cloth turns black you have bare aluminum. If it stays clean you are on a clear coat or anodizing. Peeling in sharp-edged patches also indicates clear coat, whereas bare aluminum dulls evenly.
Should I sand my aluminum wheels?
Only if they are bare aluminum with deep scratches or pitting you are committed to removing, and only if you intend to polish the entire wheel afterwards. Never sand a clear-coated or anodized wheel. Most oxidation does not need sanding at all, because it lifts off with polish.
Will polish remove pitting from aluminum wheels?
No. Pitting is metal that has been eaten away, and polishing removes material rather than adding it. Polishing brightens the surrounding surface and makes pits far less noticeable, but the pits remain unless the wheel is sanded flat and refinished.
Is steel wool safe on aluminum wheels?
No, despite appearing in a lot of online advice. Steel wool scratches soft aluminum and leaves steel particles embedded in the surface that rust in place, producing orange speckles. Use microfiber and a non-abrasive polish instead.
How often should aluminum wheels be polished?
Every two to three months keeps a restored, sealed wheel looking sharp. Wheels that are unsealed, driven in winter, or used around salt water need attention more often.
Why did my wheels go dull again so quickly?
Almost always because they were not sealed. Freshly polished aluminum is bare metal exposed to air, and oxidation begins immediately. Sealing after polishing is what makes the work last months instead of weeks.
Can I use the same polish on the rest of the vehicle?
Yes. The same formula works on aluminum, chrome, brass, stainless steel, silver and gold, so one bottle covers wheels, exhaust tips, trim and grilles rather than needing a separate product per metal.
Getting started
Most wheels that look past saving are not. On bare aluminum the grey chalk is a layer, and layers come off.
Do the cloth test first, match the method to what you actually have, and seal when you finish. If you are restoring a full set, the Metal Gloss 2-Pack works out cheaper than buying twice, and the bundles pair polish with Sealer Gloss so you can finish the job properly in one go.
For the wider picture on aluminum, see our guide on how to remove oxidation from aluminum.